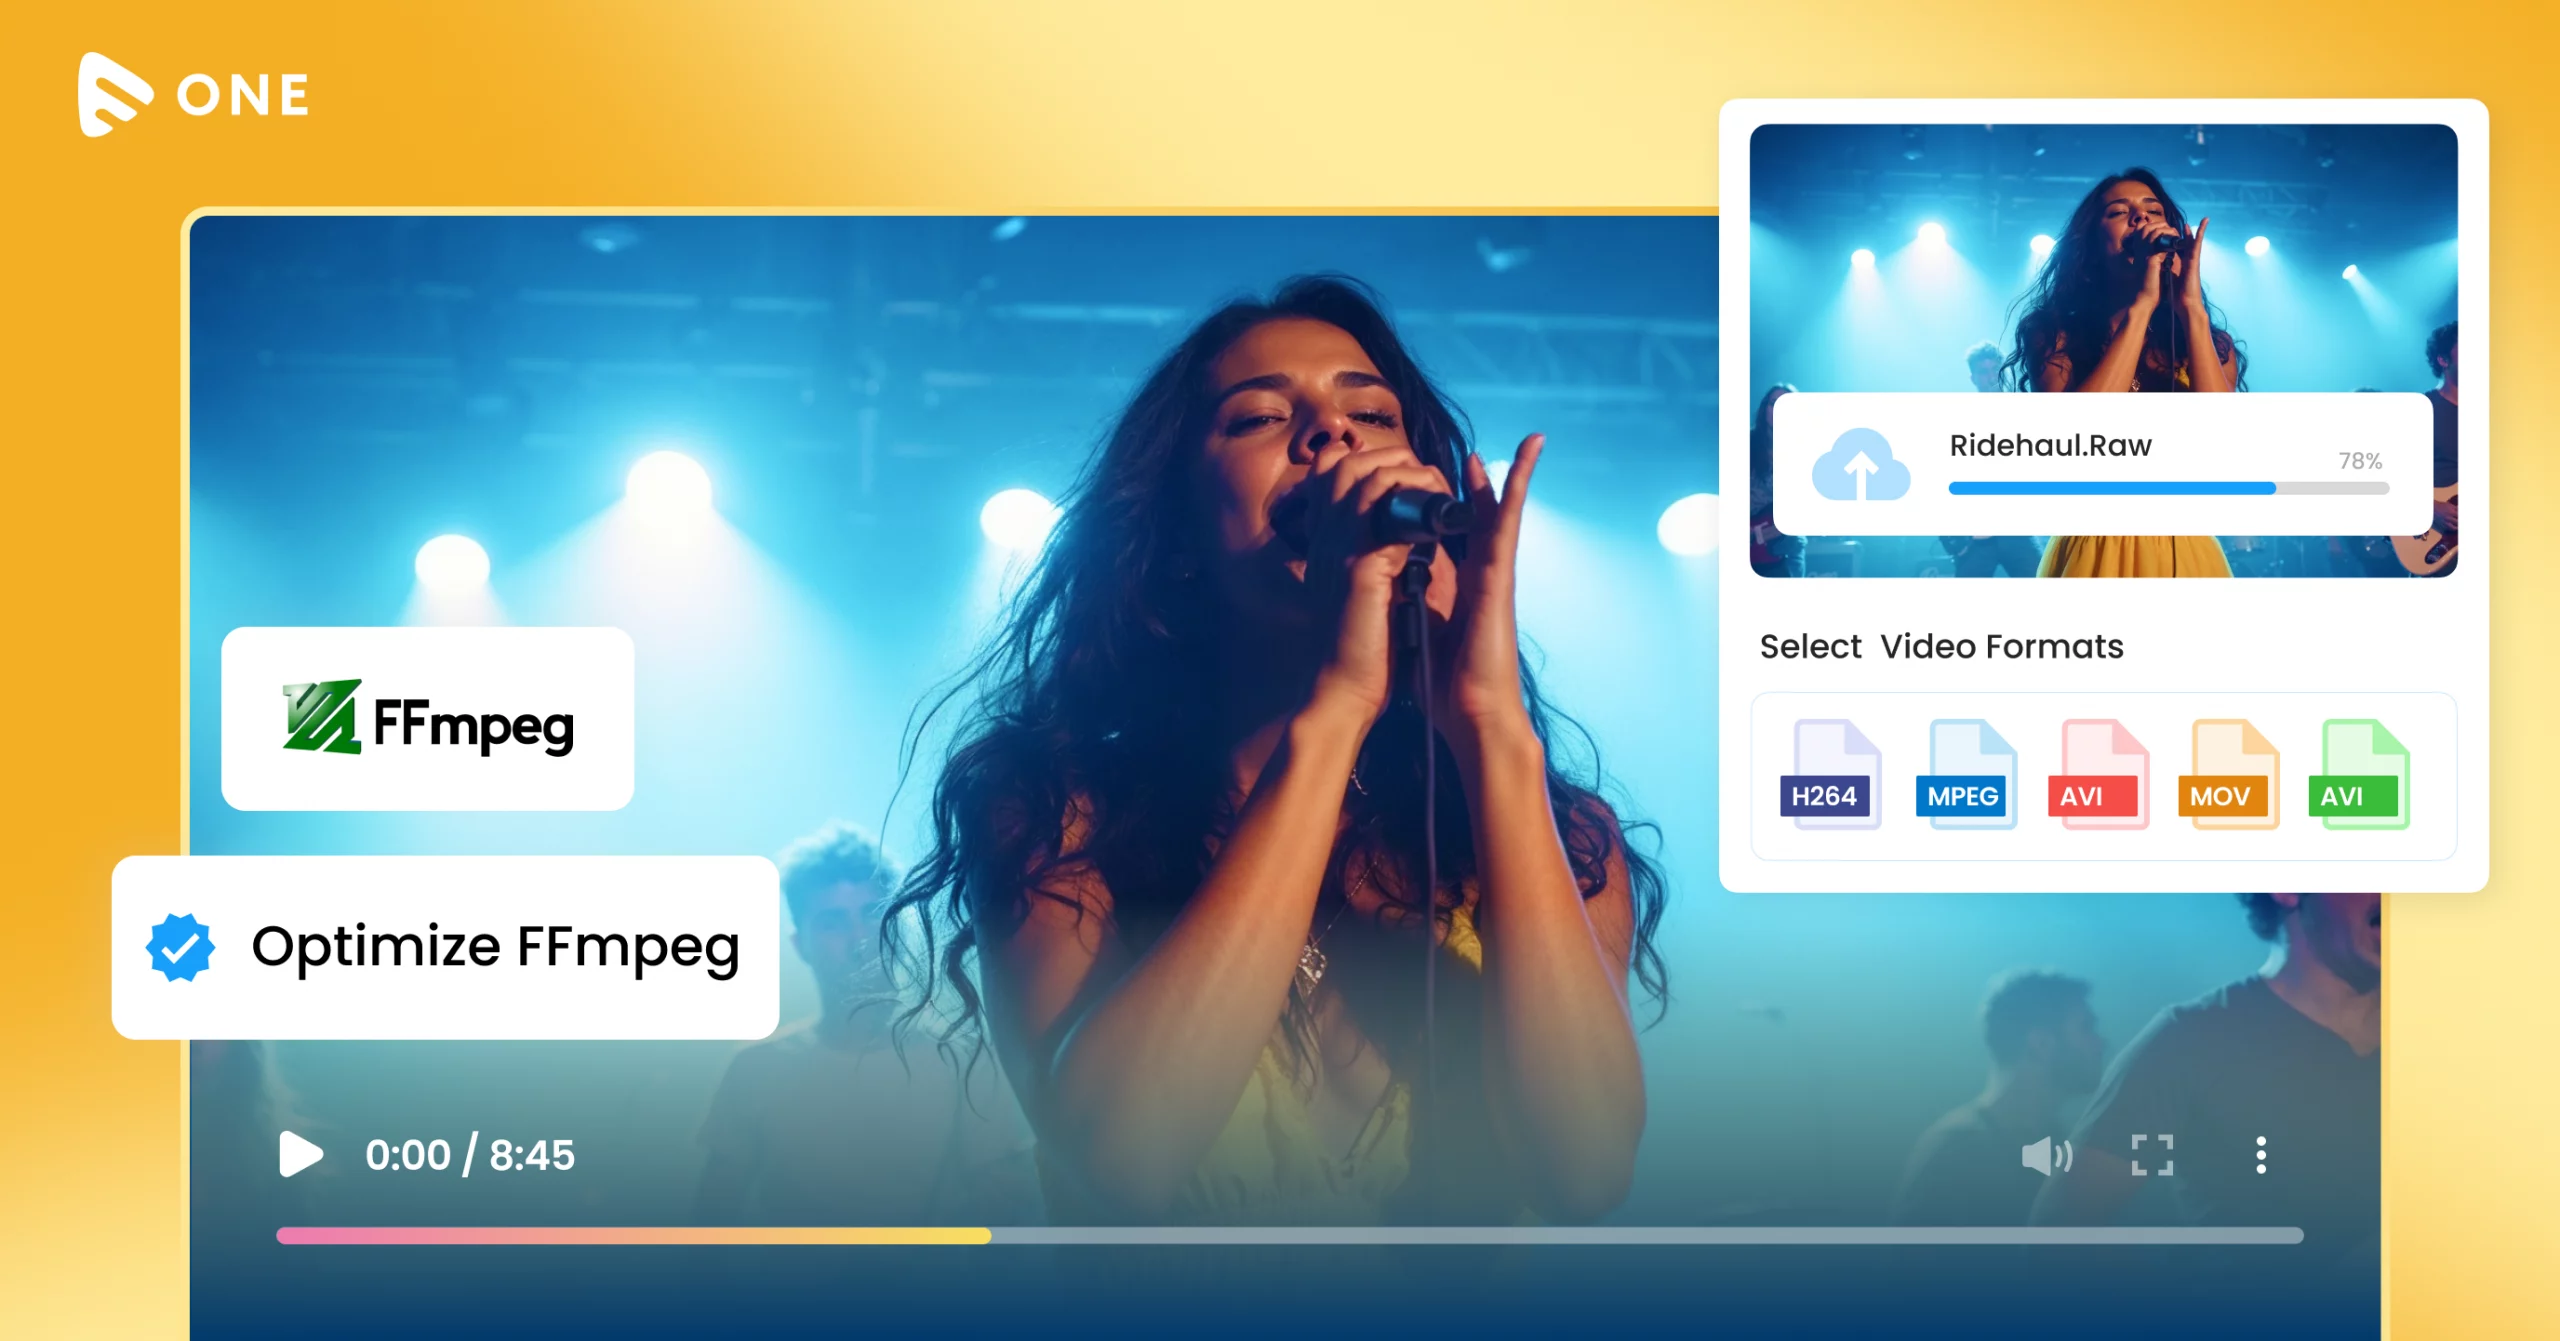
Encoding a content library with thousands of videos into an optimal adaptive format can take weeks. But by using the FFmpeg encoding programs, it’s easier to reduce the time between when videos are uploaded to when they are available in adaptive profiles for streaming.
This blog outlines methods to accelerate the video encoding process with FFmpeg by adjusting parameters such as Presets, CRF Values, Multithreading, and Hardware Acceleration. The goal is to improve encoding speed while maintaining acceptable video quality.
What is FFmpeg?
FFmpeg is an open-source, free command-line software, designed for handling and processing multiple sets of video files. The tool is widely used for quick encoding and transcoding videos, making them stream-ready in various output formats like MPEG-TS, RTMP, and HLS.
TikTok, leverages the use of FFmpeg for fast video encoding, allowing its users to create, upload, and share content from mobile phones without much time delay. VLC media player also embraces FFmpeg in its video transcoding programs for seamless adaptive streaming on viewer’s devices.
6 Tested & Proven Commands To Optimize FFmpeg For Fast Video Encoding
Internally, we took around 100 raw large video files and used the FFmpeg command-line tool to optimize its parameters such as presets, CRF values, multithreading, and hardware acceleration. The entire encoding process which was supposed to take at least a week, was completed in just 3 days, and that’s a straight 50% cut on the encoding time. Here’s how we did it.
1. Using Faster Presets:
FFmpeg offers various encoding presets that balance speed and quality. The -preset option can be set to the following values, from fastest to slowest:
– ultrafast
– superfast
– veryfast
– faster
– fast
– medium [default]
– slow
– slower
– veryslow
Example Command:
ffmpeg -i input.mp4 -c:v libx264 -preset fast -crf 23 -c:a aac -b:a 128k output.mp4
*-preset fast: Faster encoding with slightly lower quality than the default [medium]
*-crf 23: CRF [Constant Rate Factor] controls quality, where lower values improve quality but increase file size.
2. Reducing Quality to Increase Speed:
You can increase the CRF value to reduce the encoding time by allowing FFmpeg to prioritize speed over quality.
Example Command:
ffmpeg -i input.mp4 -c:v libx264 -preset superfast -crf 28 -c:a aac -b:a 128k output.mp4
*-crf 28: A higher CRF value results in lower quality but significantly faster encoding.
3. Skipping Audio Re-Encoding:
If audio processing is not required, you can copy the audio stream to avoid unnecessary re-encoding. This saves processing time.
Example Command:
ffmpeg -i input.mp4 -c:v libx264 -preset fast -crf 23 -c:a copy output.mp4
*-c:a copy: Copies the audio stream directly without re-encoding.
4. Multi-Threading:
FFmpeg uses multithreading by default, but you can manually control the number of threads used for encoding. Adjust the number of threads based on your CPU cores for faster processing.
Example Command:
ffmpeg -i input.mp4 -c:v libx264 -preset fast -crf 23 -c:a aac -b:a 128k -threads 4 output.mp4
*-threads 4: Specifies the number of threads to use. Adjust based on the system’s CPU capability.
5. Using GPU Acceleration:
For systems with a supported NVIDIA GPU, hardware-accelerated encoding using NVENC can significantly speed up the encoding process. Below is an example command:
Example Command:
ffmpeg -i input.mp4 -c:v h264_nvenc -preset fast -cq 23 -c:a aac -b:a 128k output.mp4
*-c:v h264_nvenc: Uses NVIDIA’s hardware encoder [NVENC] for faster video encoding
*-cq 23: Constant Quality for GPU-based encoding, where lower values result in higher quality. A value of 23 strikes a good balance between speed and quality
*-preset fast: Optimizes the encoding speed
*-c:a aac -b:a 128k: Encodes the audio stream with AAC at 128 kbps
6. Avoiding Two-Pass Encoding:
Two-pass encoding improves bitrate control but can be slower. To speed up encoding, it’s best to skip the two-pass process unless accurate bitrate control is required.
Example Command:
ffmpeg -i input.mp4 -c:v libx264 -preset fast -crf 23 -c:a aac -b:a 128k output.mp4
Quick Summary:
Ensuring fast video loading and smooth playback across various devices and network conditions has become more important than ever. FFmpeg is here to fast-forward your video encoding process and save you both time and money. By adjusting a few parameters of FFmpeg commands, you can significantly improve encoding speed. Below is a quick configuration guideline for optimizing FFmpeg:
Preset: Use fast, superfast, or ultrafast for increased speed
CRF: Increase the CRF value [e.g., 28] for faster encoding, though this may reduce quality
Threads: Use -threads to leverage multiple CPU cores for better performance
Hardware Acceleration: Utilize Nvenc for NVIDIA GPU-based encoding to enhance speed
For seamless and fast video encoding, launch your video streaming service with Muvi One. Set your desired encoding profile, customize the video components, and optimize FFmpeg to reduce the overall encoding time.
Take a 14-day Free Trial Now !!!


Add your comment