You can create your own branded streaming app for iOS phones very easily using Muvi One’s no-code app builder. However, to publish your app on the Apple App Store, you will need an iOS developer account.
If you need help in creating your own Apple Developer’s Account, then this blog is for you! In this blog, we will discuss the steps you need to follow to create an Apple Developer Account. We will also guide you through the app listing process. So, let’s get started!
Create Your iOS and Apple TV Streaming Apps in Minutes! Click Here to Get Started! |
Steps to Create an Apple Developer Account
Creating an Apple Developer Account and listing your app involves the following 10 steps:
- Create your own Apple ID
- Set up two-factor authentication
- Join the Apple Developer Program
- Fill profile details
- Fill contact information
- Verify the entered account information
- Setup Auto-Renewal
- Sign in to your account
- Enter billing details and choose the payment method
- Publish your app
And we are here to guide you through each of these 10 steps. So, let’s start with the first step!
Step 1? Creating Your Own Apple ID
To create your own Apple ID, you need to follow the steps given below:
- Visit developer.apple.com
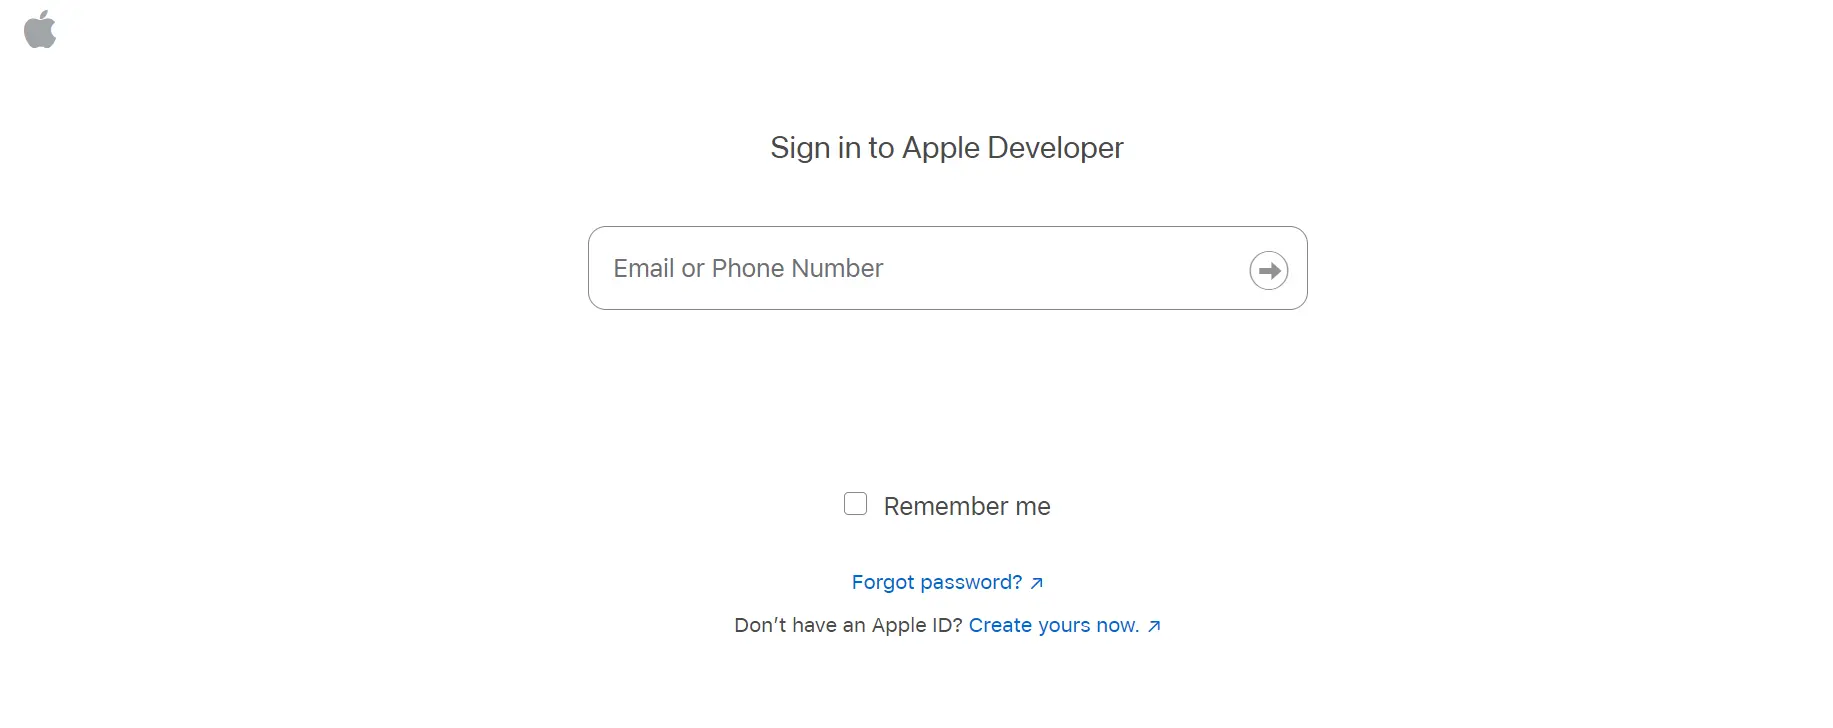
- Click on “Account” from the menu bar. You will get it in the top right corner of your screen.
- The sign-in page will open. But if you don’t have an account, go to the bottom section of this page where you will see “Don’t have an Apple ID? Create yours now.” You will get a link there. Click on that link.
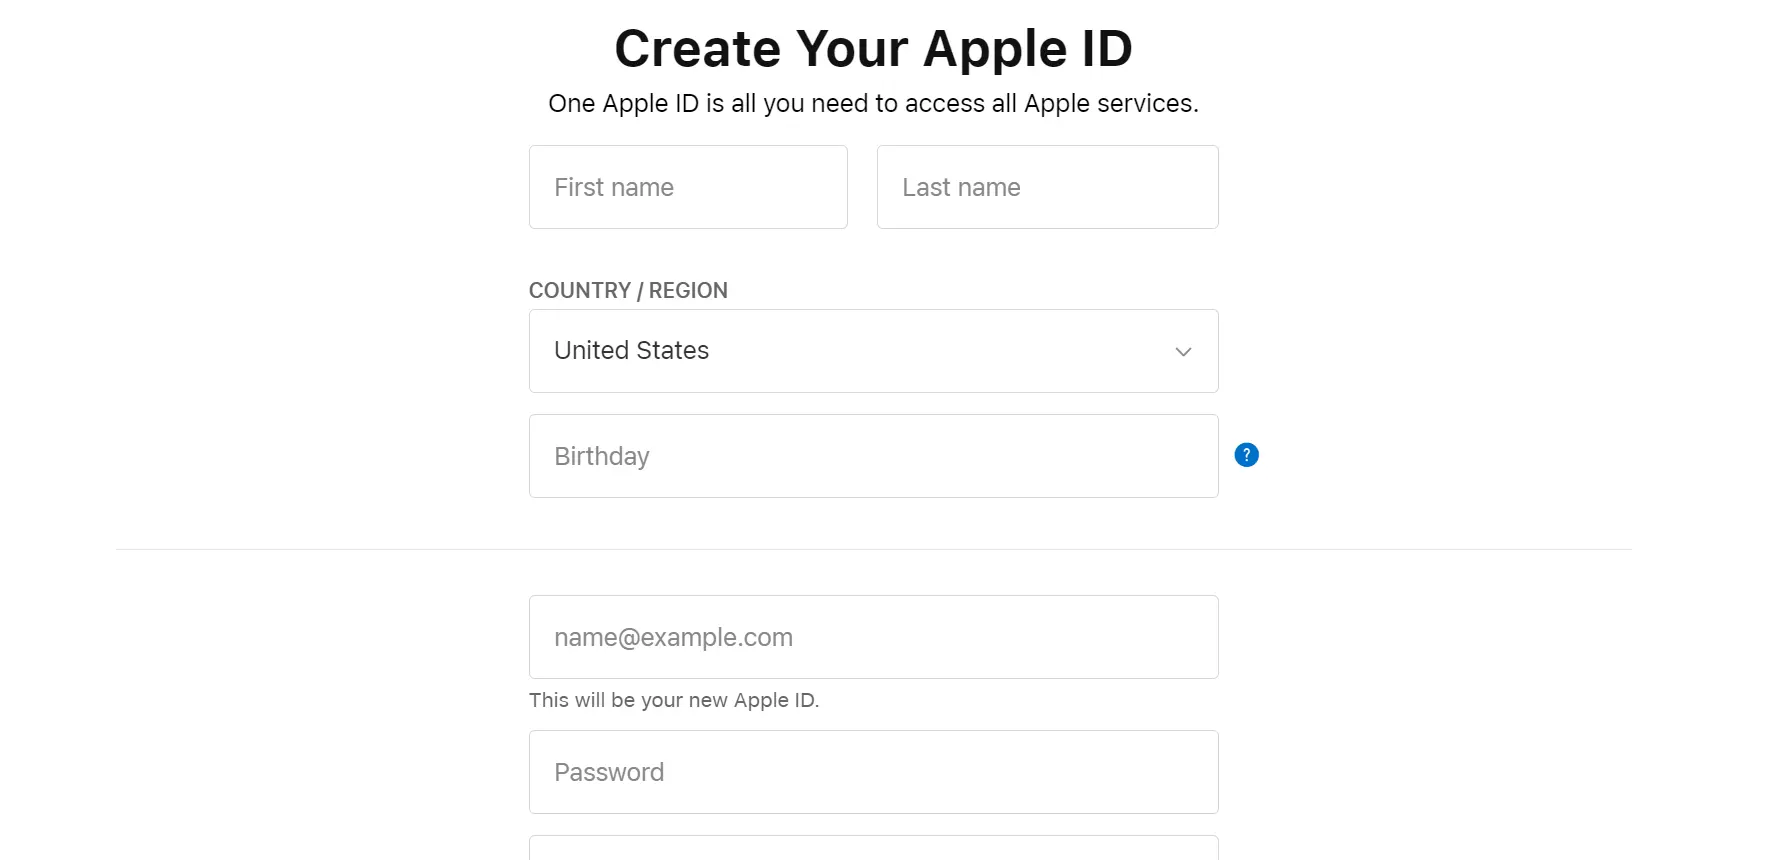
- The Apple ID creation form will open. Fill in the necessary details like name, country, and birthday. You will also be asked to enter your new Apple ID. So, fill it out carefully. Fill in the password and phone number too.
- You will need to verify your phone number. You will get two options – verify via text message or phone call. Choose whatever suits you.
- Once you have filled out the entire form and completed the phone number verification, enter the CAPTCHA verification code and submit the form.
Your Apple ID will be created.
Step 2? Set Up Two-Factor Authentication
Protecting your Apple ID is crucial. Setting up two-factor authentication will help deter any form of hacking attempts.
Follow the steps given below to set up two-factor authentication for your Apple ID.
On your iPhone, iPad, or iPod touch:
- Go to Settings > Click on your username > Go to Sign-In & Security.
- Tap Turn On Two-Factor Authentication and then Continue.
- Enter your phone number. You will receive a verification code in your number. You can choose to receive the code either by text message or automated phone call.
- Tap Next.
- Enter the verification code that you received.
On your Mac:
- Choose Apple menu > Go to System Settings (or System Preferences), then click on your name (or Apple ID).
- Click Sign-In & Security.
- Click Turn On next to Two-Factor Authentication.
- If needed, enter your Apple ID password, then click Sign in.
- Answer your security questions, then click Continue.
- Enter your phone number for verification, select a verification method, then click Continue.
Once two-factor authentication is enabled, you can proceed to the next step, which is joining the Apple Developer Program.
Step 3? Join the Apple Developer Program
Follow the steps given below to join the Apple Developer Program:
- Visit developer.apple.com
- Click on “Account” again as you did previously.
- Now sign in to your account using the Apple ID details (email ID or phone number) and password.
- Once you have logged in, you will see “Join the Apple Developer Program” button. Click on it.
- Read the details, terms and conditions, and click on submit.
- Now choose your account type:
- Type 1 will be for individual developers.
- Type 2 will be for businesses and organizations (you will need a D-U-N-S number for the same).
Step 4? Fill Profile Details
Its now time to complete the Apple Developer Program Enrollment Process. In this enrollment form, you will need to enter your profile details like Business/individual name, DUNS Number (in case of businesses), work email, website, office contact number, etc. Fill in all the relevant details correctly. Finally enter the CAPTCHA verification code and submit the enrollment form.
Note that your business must be a legal entity with a proper legal entity name if you are applying for an Apple Developer Enterprise account.
Step 5? Fill Contact Details
Now go to the “Your Information” page. You will be asked to enter some details. So, fill in the necessary details like legal name, phone number, and business address. You will get a copy of the Apple Developer Program License Agreement. Read through it carefully, check the box, and continue.
Step 6? Verify Account Details
Now you will be asked to verify all the account-related details that you have entered so far. So, read all the details, check and verify them carefully. Once satisfied, click on continue and enter the next step.
Step 7? Setup Auto-Renewal
The most common question asked by all the developers – Is the Apple Developer Program Free?
Well, the answer is NO! Apple Developer Program is not free. You need to pay US $99 annually for it. And it’s obvious that you would like to remain a member for many years. So, instead of manually paying this fee every year, you can set up auto-renewal.
In case you are redirected to the auto-renewal page after verifying your account details, you can enable auto-renewal directly from there.
But even if you miss that opportunity, you can set it up any time later. To set auto-renewal of the Apple Developer Program later, follow these steps:
- Go to your account and click on “Membership Details”.
- You will get the option to enable auto-renewal. Enable it.
Once you enable it, the default credit/debit card associated with your Apple ID will be used to charge your annual fee on your membership expiration date.
Step 8? Sign In To Your Account
You will be automatically redirected to the sign-in page, where you need to fill in your Apple ID and password to sign in to your developer account.
Also, please note that in your first sign-in, you will have to complete the annual fee payment first.
Step 9? Fee Payment
You will be redirected to the billing and payments page, where you need to enter details like billing contact, and billing address. Here you need to set up a default payment method. You can use debit card, credit card, or PayPal for the same.
Once you have filled in the details, you will get the bill amount that you need to pay.
Step 10? Publish Apps
Once the payment is complete, your Apple Developer Account will be fully functional and you can now proceed to list your app.
To do so, you need to log in to App Store Connect first. The entire process of listing your app is discussed in detail in our next section.
How to Publish Your OTT App on the App Store?
Follow these steps to list your app on the app store:
- Click here to log in to App Store Connect.
- Use the “+” button under “My Apps” to create a new record for your app.
- Provide details like platform (iOS), language, bundle ID, SKU, app name, category, and privacy policy URL.
- Determine your app’s pricing strategy (free, paid, or freemium).
- Set the territories where it will be available.
- Use Xcode to archive your app and upload the build file to App Store Connect.
- Provide screenshots of your app’s UI and features. You can also create an app preview video.
- Fill in details like app description, category, keywords for search optimization, marketing assets, and any age rating considerations. Note that category here plays a big role in easy discovery of your app.
- Once everything is set, submit your app for review by Apple. Apple reviews all apps before they go live on the App Store.
- Upon successful review, your app will be available on the App Store!
Wrapping Up
We hope this blog helps you create your own Apple developer account for listing your streaming app to the App Store.
In case you are building your app using Muvi One, our support engineers are always ready to help you out! Do reach out to us in case of any queries.
And if you are still thinking about how to create a streaming app for Apple devices, do try out Muvi One! Using Muvi One, you can create your own-branded streaming apps for 16+ OS environments including iOS, Apple TV, Android, Android TV, and more! You can try Muvi One for FREE for 14 days. No credit or debit card is required. Just click here to start your free trial.


Add your comment